Making a personal website with Github pages, Jekyll, Pool and the Hyde Theme
13 Oct 2014It should only take an afternoon... right?
So, it looks like I managed to get all I needed up and running within a day - that's coming from someone who hasn't really taken an active interest in setting up his own webpage in quite a few years.
Let me say this: it isn't all that difficult.
You'll need to know a little git to work with this guide and github. If you haven't seen any git or if you're uncomfortable using git I highly recommend the 15 minute git c<>de school lab!.
Github pages
The first thing you're going to want is a place to put all your wonderful content [yup before even thinking about what all that content is going to be!]. For me, that's Github.

In your Github account make yourself a 'repo' called UserName.github.io where User Name is your Github username.
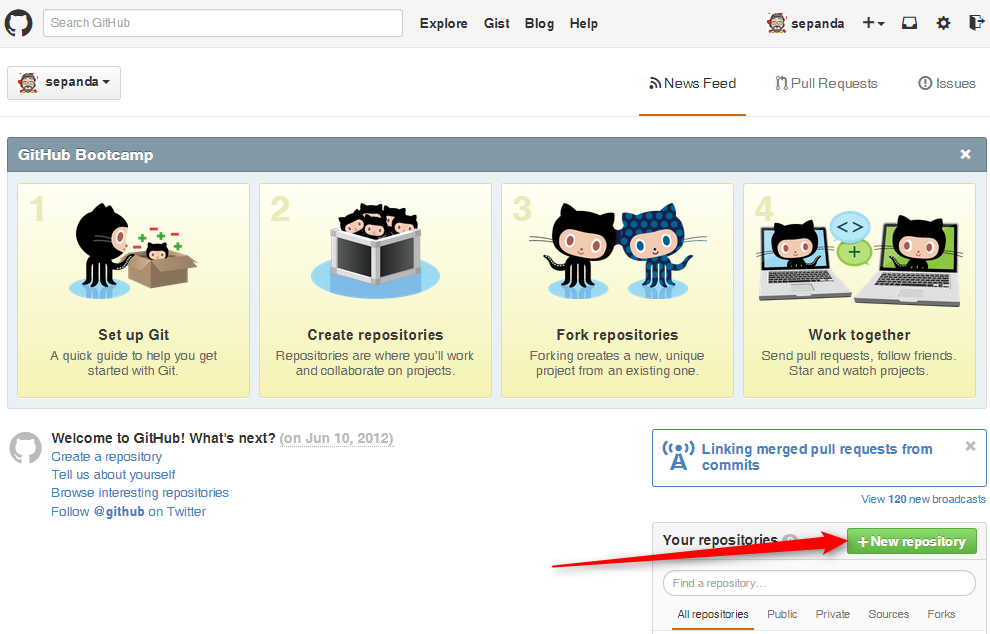
A good idea now is to clone your username.github.io repo to your local machine. This is where you're going to put together all your content and push it out to the world. If you're a little rusty on the git commands just jump over to git - the simple guide.
Template for your webpages: Jekyll, Poole and the Hyde theme
Github pages supports the use of Jekyll in addition to regular HTML content.
What is Jeckyll? Well to quote Github Jekyll
The Hyde theme that I'm using at the time of this post is build on top of this mysterious Jekyll. To get this site working (locally) I'm going to want to have Jekyll working locally as well. Without a local Jeckyll server the only way we will see the website in its glory will be to commit changes to github and look at the website from there.
Getting a local Jekyll server on windows
This is one of the rare occasions that windows users will get a glimps into the everyday struggles of a linux user. I didn't find a simple double click executable that would magically just do everything that it has to do on order to get me what I want (I wonder if the world would be a better place if windows was a less user-friendly place). What I did find was an excellent step by step guild to installing and setting up everything you need to get a working local Jekyll server right here Run Jekyll on Windows.

You might notice that the website looks familiar and you would be right - it's using the Hyde theme as well!
Getting the template for your website
There are a number of different options depending on what type of website you're looking for. I just wanted something that was simple to get around and would contain a little information about me and some of the things I have been working on. It's worthwhile looking around at a bunch of different github-pages sites to see what fits your needs. The three that looked like a good fit from me all came from the same place! They are based on Poole. The demo page for Pool Pool demo page gives you a look at the clean web pages it produces

The two themes that are built on top of Pool are Lanyon and Hyde.
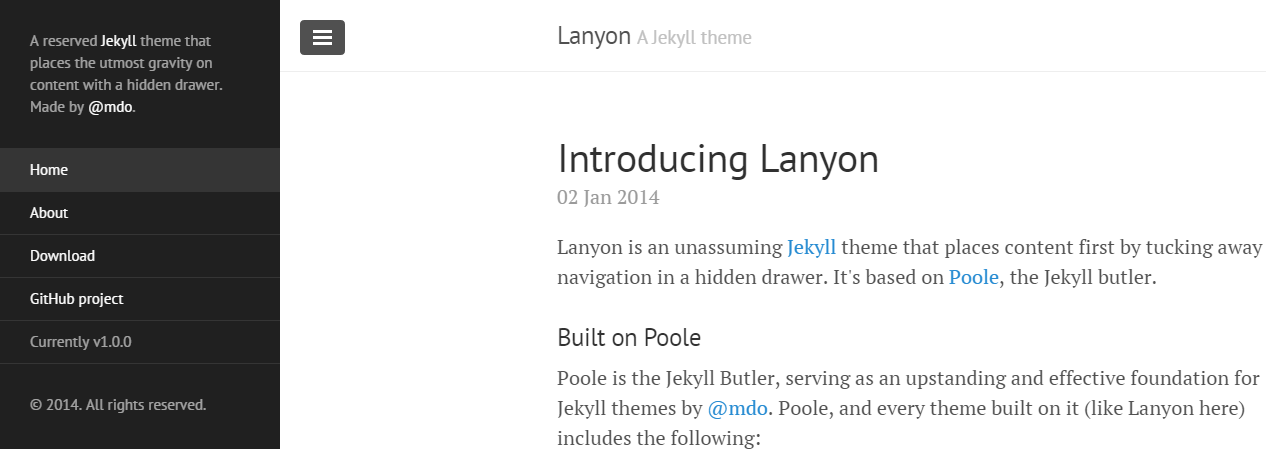
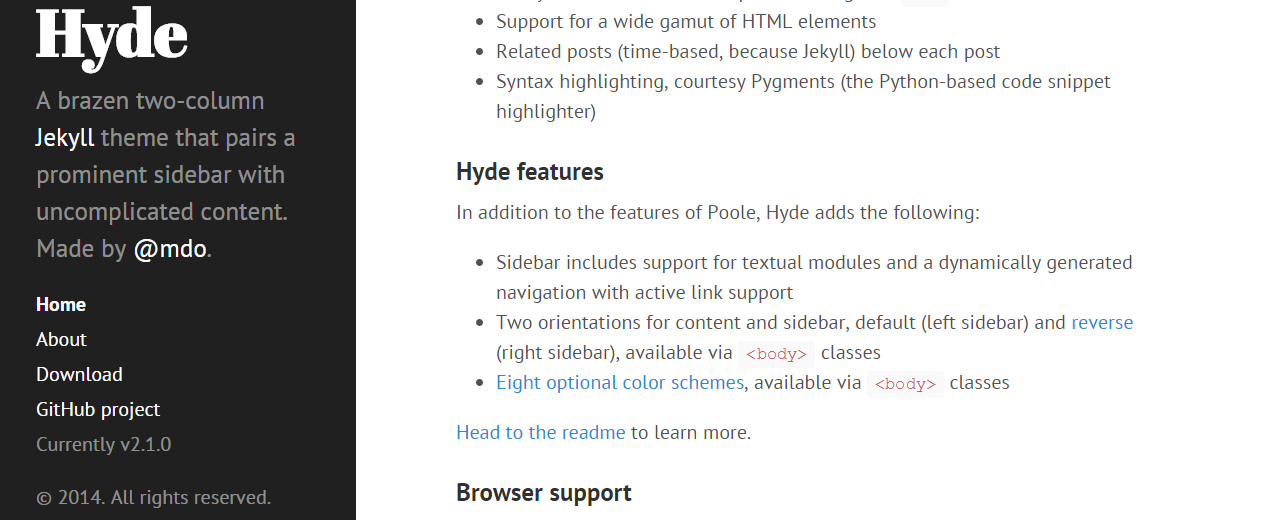
I went for Hyde. From the Hyde repo download the zip file
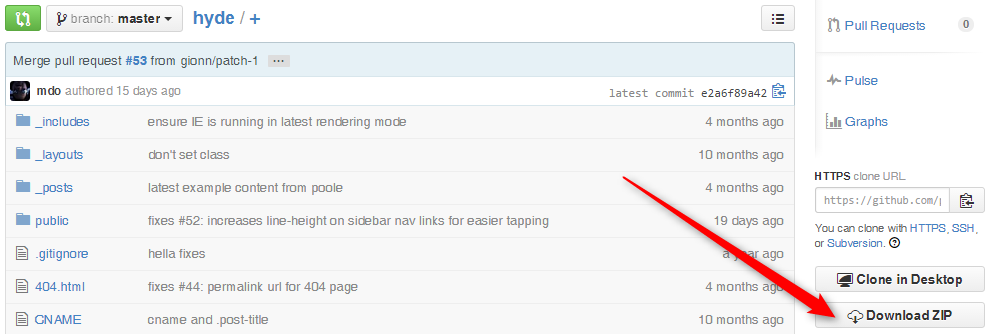
Unzip the files into your local working github folder UserName.github.io.
Starting up the Jekyll server and viewing your site locally
Before pushing the Hyde-site to github it's an idea to test out the local Jeckyll server. Open up a command terminal

and navigate your way to your local /Username.github.io/ directory
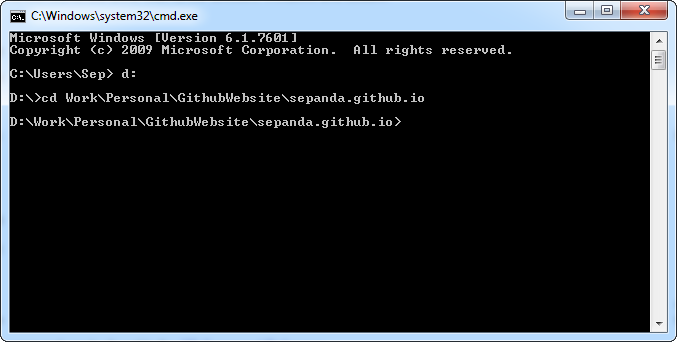
Now run the jekyll server by typing jekyll serve -w and you should see something like the below output if all is well

So what does all this mean? Well we now have a local jekyll server running, it has picked up configurations from the _config.yml file, the -w option (used when invoking the jekyll server) means that any changes to the
markdown files which make up the webpages will be automatically "watched" and the last thing to note is that we can look at our website at the server address http://0.0.0.0:4000/ so open up chrome and throw
http://localhost:4000/ into the browser.
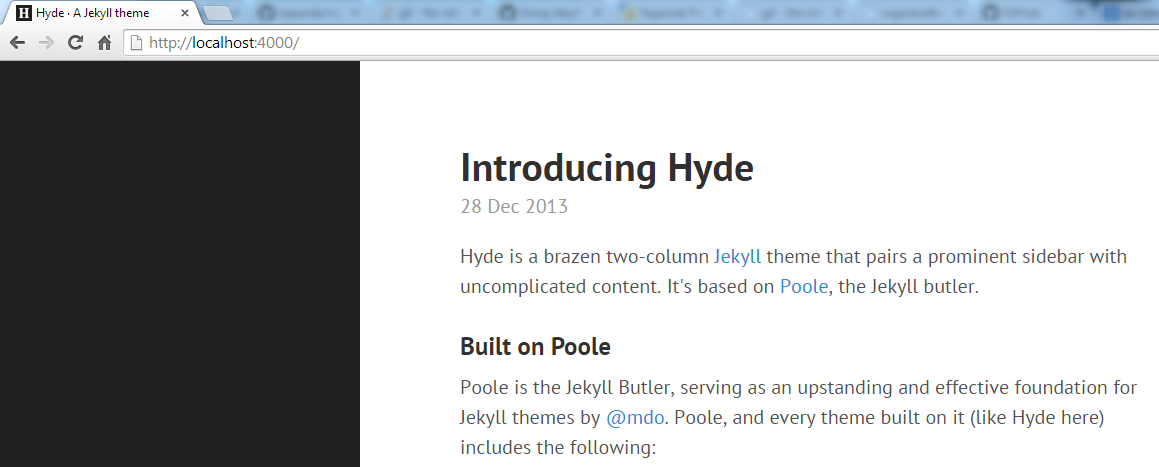
The basics of the Hyde theme
The initial state of the Hyde theme, which we have put into the UserName.github.io folder, consists of the following files and folders
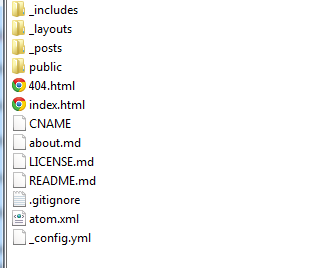
Most of the information concerning tweeks is contained in easy-enough-to-understand Readme file over at the Hyde repo on github.
As an extra you can add and change the css by navigating your way to /pages/css and taking a look at the files present. The website I have put together with all the yellow code uses an extra css file rjow.css which I grabbed
from How to Run Jekyll on Windows - github. I had to also add a single line to the _includes/head.html file to include the rjow.css.
Editing colours for the background and sidebar etc isn't too difficult either. You need to open up the \public\css\hyde.css file and add the colour hex for the changes that you are looking for. From my experience just
playing around with the code and seeing what happens gets you up to speed quickly.
If you want to recreate exactly what I've done, you can look at the files for my web pages in my repo for my website using githubpages.
Getting a space at [insert-name-here].com
You can go a little further and get yourself a [insert-name-here].com instead of directing people to http://[username].github.io get yourself a .com you'll need to
- Find a domain name that is available and within budget (I did my searching at DomainTools ).
- Buy the domain using a "domain registrar" (I used namecheap as my registrat).
For a "domain registrar", I went to hover first but for some reason ended up in a paypal loop which I didn't enjoy. After a little searching I went with namecheap and got myself set up with a my own domain name in less than 5 minutes (payment with paypal).
The nitty-gritty of actually getting your .com website to throw your users to your GitHub pages can be found at David Ensinger-github pages on namecheap who has a post especially for this very task! You can also look at Github Help: Setting up a custom domain.
In a nut shell here is the process:
1. Create and push a CNAME file to your github pages
- create a file with no extension called 'CNAME'.
- put your domain name into the first line of the CNAME file, using a text editor. The file only contains your
DomainName.com. - push the CNAME file to your github pages director, that is push it to your
/UserName.github.io.
2. Edit your host records on namecheap.com
- Sign into your namecheap account
- select your domain name and go to the 'All Host Records' section
- fill in the details as shown below (that dot after the io isn't a typo!)

3. Wait
It took around 30 minutes for http://sepanda.com to actually redirect to something other than the GitHub 404 page. The redirect to Github was immediate though - so that might serve as a good indicator. After the ~ 30 minutes wait you're up and running! Congrats! Now all that's left is to put together all that content that you've been wanting to share!
